
Decide whether you need one sheet or one page across
A short form and a long contact list need different layouts. Decide whether the entire table must fit on one physical sheet, or whether all columns should stay together while the rows continue onto further pages.
These steps cover Windows desktop Excel for Microsoft 365, Excel 2024, 2021, 2019, and 2016. In Page Setup, fitting to 1 page wide by 1 tall reduces the whole printout to one page. For long tables, consider width and height separately. [5]
Microsoft says this one-page fitting feature is unavailable in Excel for the web. Open the workbook in desktop Excel if you need it. Mac menus can differ, so do not expect every step below to appear in the same place. [5]
Set the range you actually want to print
Select the table’s cells, then choose Page Layout → Print Area → Set Print Area. Only that range prints. The setting is saved with the workbook, so save after changing the range. [2]
If the last column or new rows are missing, check for an old print area. Change the setting rather than deleting cells. Use Page Layout → Print Area → Clear Print Area when you need to remove the restriction. [2] [4]
Separate, nonadjacent print areas print on separate pages. For one continuous table, select a connected range from its heading to the final total. Clearing the print area removes all print areas on that worksheet. [2]
Set width and height separately
Under Page Layout → Scale to Fit, set Width to 1 page and Height to Automatic to keep columns together while rows continue. Set Height to 1 page only when you want the entire table on one page. [1]
Fitting more data into fewer pages can make the text hard to read. Try Landscape orientation or exclude unneeded cells from the print area, then preview. Make sure the selected paper size matches the paper you will use. [1]
If a contact list’s final column spills onto another sheet, start by fitting the width. For a short submission form, fitting the height may also work, but check headings and numbers. Choose the layout for the document’s purpose.
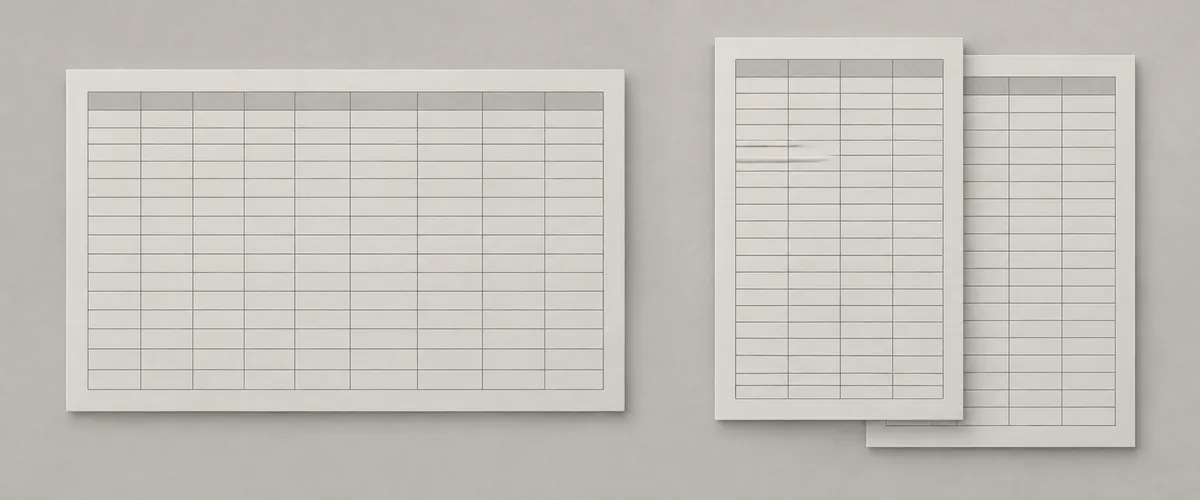
Check page breaks before moving them
Open View → Page Break Preview to inspect divisions. Dashed lines are automatic breaks; solid lines are manual ones. Paper size, margins, and scaling affect where Excel divides the pages. [3]
Excel ignores manual page breaks when Fit to scaling is used. Before dragging a line to split a table at a chosen row, check whether that fitting option is active and whether you need it. [1] [3]
Page Break Preview shows page divisions; merely opening it does not fit the table to one page. Do not remove needed rows because the preview contains several pages. Check that the full table appears across them.
Review the preview and printer settings
Open File → Print and check the title, first and last columns, and final total. If expected rows are missing, inspect the print area. Choose copies and the pages to print in this screen before sending the job. [4]
If the preview and output differ, compare Excel’s paper size with the printer’s setting and loaded paper. Microsoft explains that mismatched sizes can rescale the output. Check this before shrinking the table further. [1]
Use fewer sheets only while keeping the document readable. If names or amounts become tiny, keep Width at 1 page and let the height span more pages. Save the chosen print area and orientation for the next time you use the file.